- Azure Active Directory App 등록
- API 권한 등록
- 데이터 베이스 정보 등록
- Outlook 추가 기능 배포
Azure App 등록 방법
- Azure App 등록
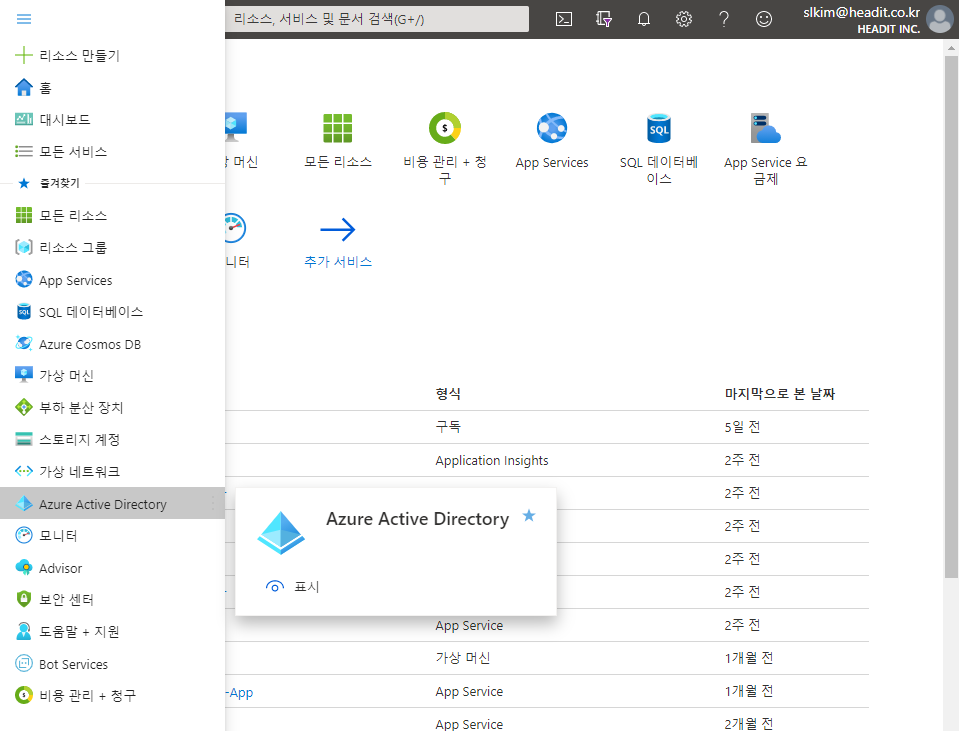
- Azure 앱 등록 클릭 > 새 등록
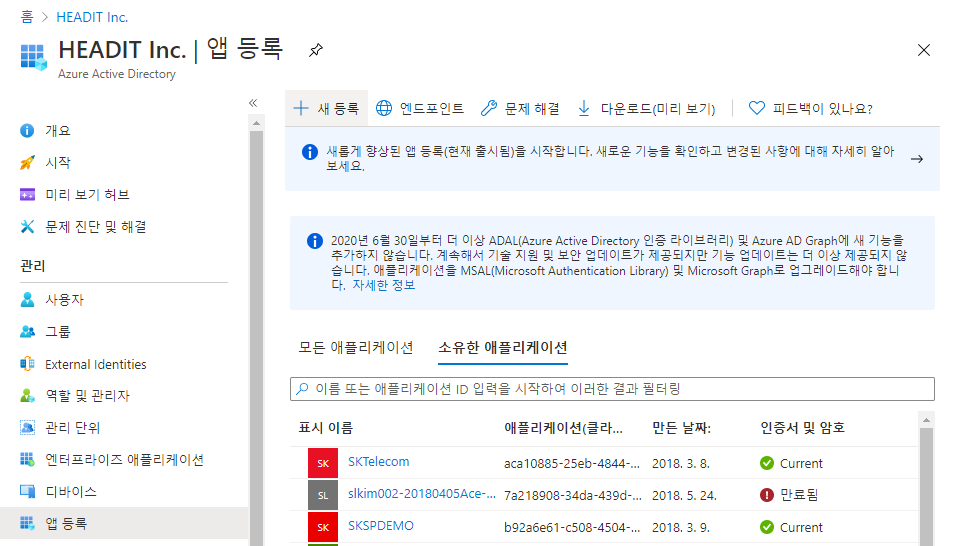
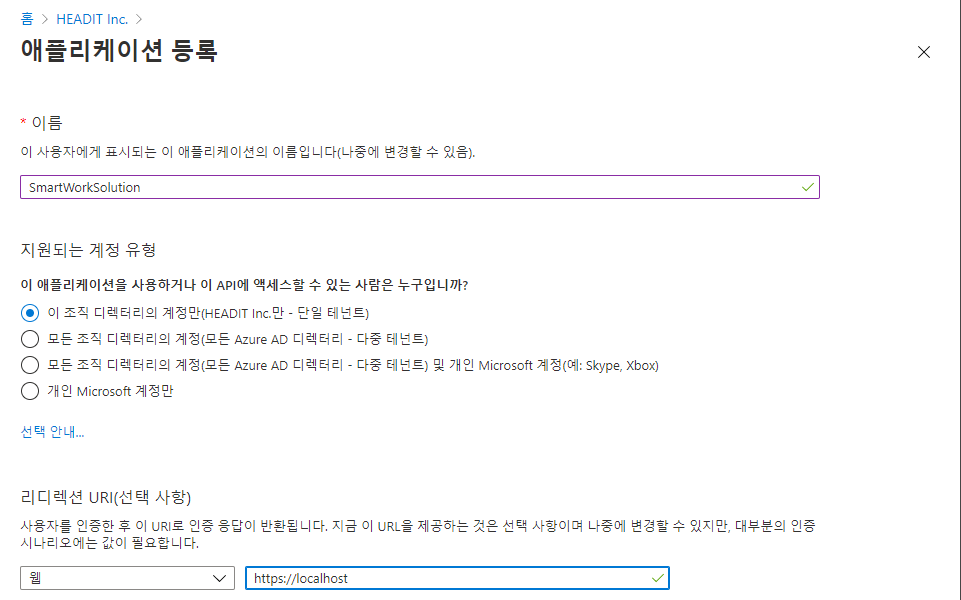
- 애플리케이션 등록 정보 입력
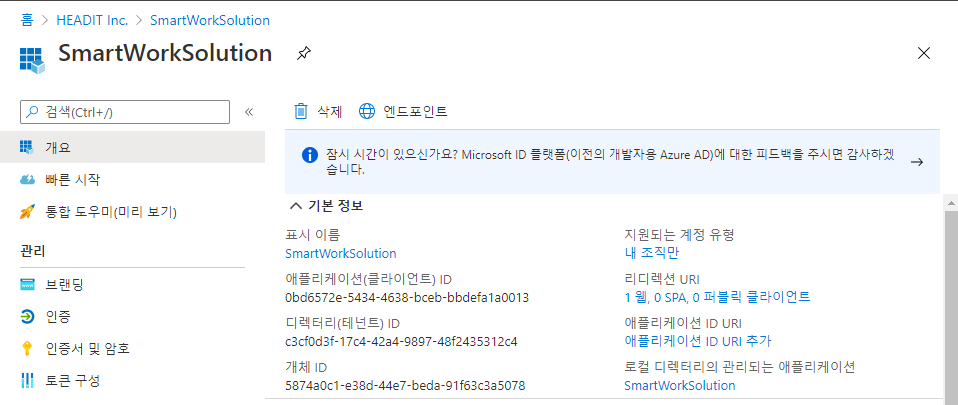
- 생성 후 개요에 있는 클라이언트ID, 테넌트 ID 데이터베이스에 등록
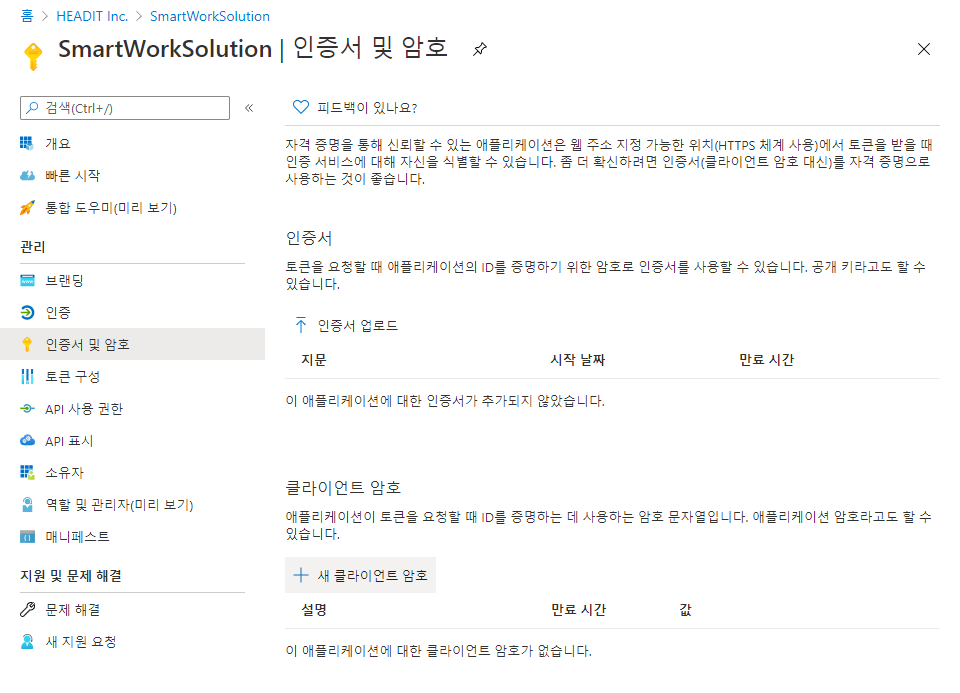
- 인증서 및 암호 => 클라이언트 암호 생성해서 데이터베이스 시크릿 키에 등록
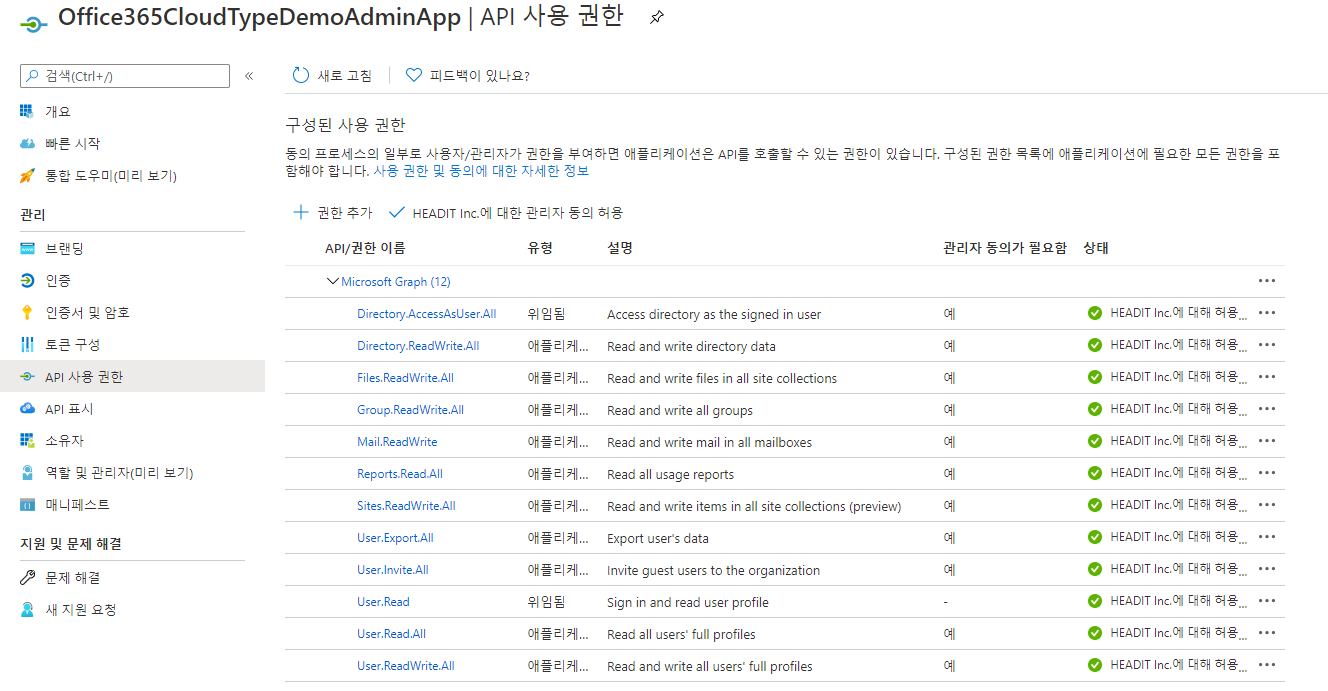
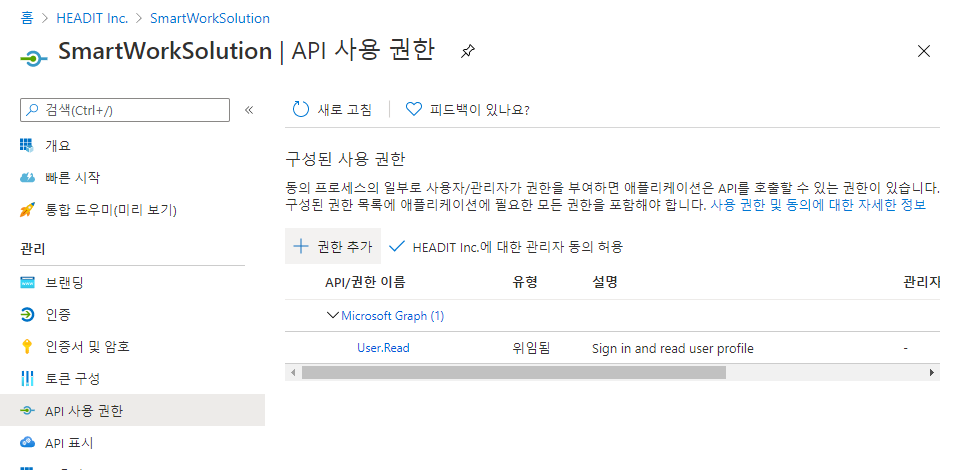
- API 사용 권한 > 권한 추가, 해당 필요한 권한 모두 추가 후 관리자 동의 허용까지 꼭 해줘야 함!!
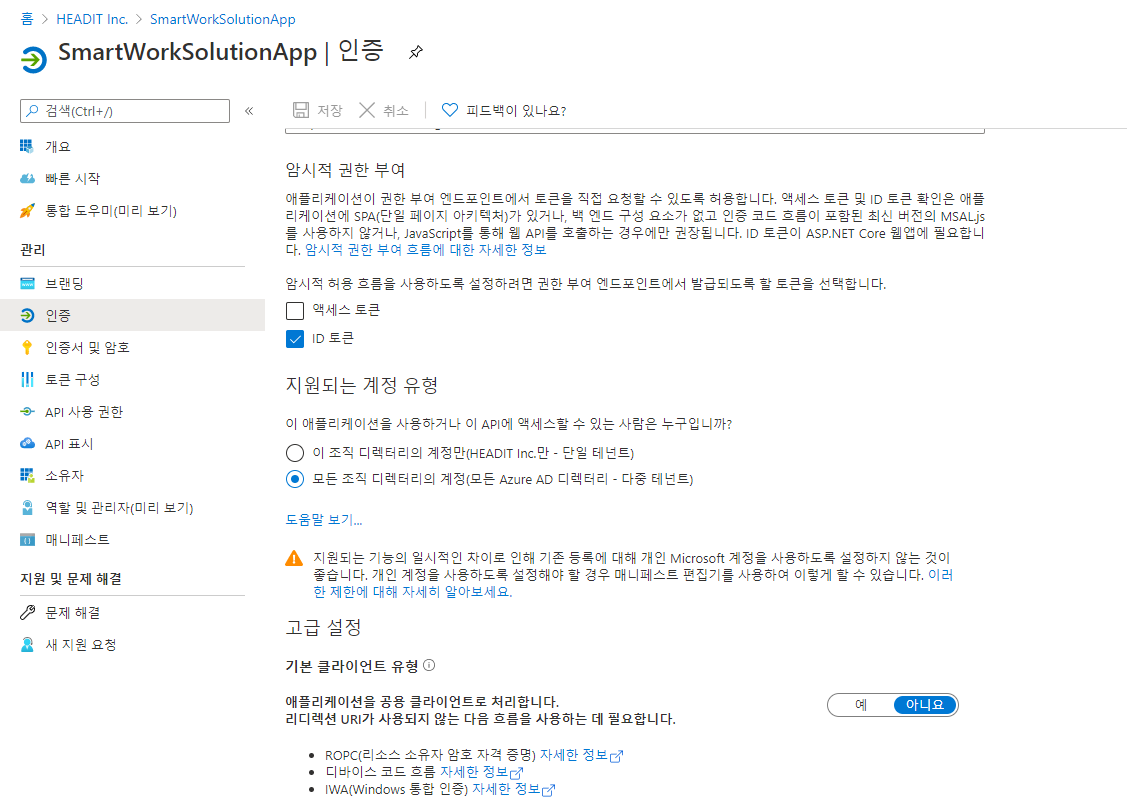
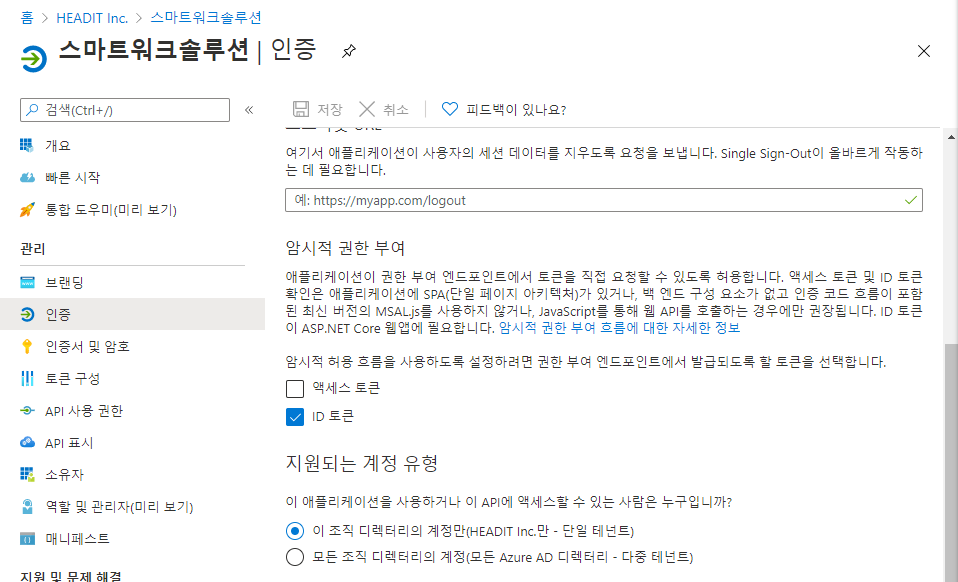
- SSO 다중 테넌트로 인증 변경
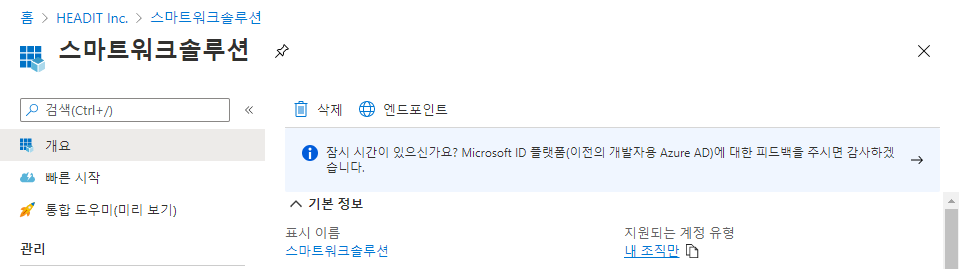
- 지원되는 계정 유형 -> 다중 테넌트로 변경
Outlook 조직도 매니페스트
- ID 발급
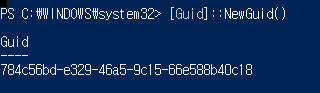
- 아래 내용으로 Xml 파일 생성
- ID 변경, 아래 조직 이름 변경 (Ex, 캠틱으로) 후 나머지는 그대로
<?xml version="1.0" encoding="UTF-8"?>
<!--Created:배포용-->
<OfficeApp
xmlns="http://schemas.microsoft.com/office/appforoffice/1.1"
xmlns:xsi="http://www.w3.org/2001/XMLSchema-instance"
xmlns:bt="http://schemas.microsoft.com/office/officeappbasictypes/1.0"
xmlns:mailappor="http://schemas.microsoft.com/office/mailappversionoverrides/1.0"
xsi:type="MailApp">
<!-- 기본 설정 시작: 재정의가 지정되지 않은 한 모든 Office 버전에 사용되는 추가 기능 메타데이터입니다. -->
<!-- 중요! ID는 추가 기능별로 고유해야 합니다. 이 매니페스트를 다시 사용하려면 이 ID를 새 GUID로 변경해야 합니다. -->
<Id>07d8816d-bfb3-41b2-89fd-07a5f17b950d</Id>
<!--버전. 버전 변경이 있을 경우 트리거되는 저장소에서만 업데이트됩니다. -->
<Version>3.0.0.0</Version>
<ProviderName>(주)헤드아이티</ProviderName>
<DefaultLocale>en-US</DefaultLocale>
<!-- 추가 기능의 표시 이름. 저장소에서 사용되며, 추가 기능 대화 상자와 같은 Office UI에 다양하게 배치됩니다. -->
<DisplayName DefaultValue="스마트워크솔루션" />
<Description DefaultValue="(주)헤드아이티에서 제공하는 조직도 및 대용량 파일 첨부 추가 기능입니다."/>
<IconUrl DefaultValue="https://hd-organizationchart-app.azurewebsites.net/assets/images/icon-32.png"/>
<SupportUrl DefaultValue="https://hd-organizationchart-app.azurewebsites.net" />
<!-- 탐색 시 허용될 도메인. 예를 들어 ShowTaskpane을 사용하고 href 링크가 포함되어 있으면 해당 도메인이 이 목록에 있는 경우에만 탐색이 허용됩니다. -->
<AppDomains>
<AppDomain>https://hd-getoffice-mng.azurewebsites.net</AppDomain>
<AppDomain>https://login.windows.net</AppDomain>
<AppDomain>https://login.microsoftonline.com</AppDomain>
</AppDomains>
<!--기본 설정을 종료합니다. -->
<Hosts>
<Host Name="Mailbox" />
<Host Name="Database" />
</Hosts>
<Requirements>
<Sets>
<Set Name="Mailbox" MinVersion="1.1" />
</Sets>
</Requirements>
<FormSettings>
<Form xsi:type="ItemRead">
<DesktopSettings>
<SourceLocation DefaultValue="https://hd-organizationchart-app.azurewebsites.net"/>
<RequestedHeight>250</RequestedHeight>
</DesktopSettings>
</Form>
</FormSettings>
<!--권한-->
<Permissions>ReadWriteMailbox</Permissions>
<Rule xsi:type="RuleCollection" Mode="Or">
<Rule xsi:type="ItemIs" ItemType="Message" FormType="Edit" />
<Rule xsi:type="ItemIs" ItemType="Message" FormType="Read"/>
<Rule xsi:type="ItemIs" ItemType="Appointment" FormType="Edit"/>
<Rule xsi:type="ItemIs" ItemType="Appointment" FormType="Read"/>
<Rule xsi:type="ItemHasKnownEntity" EntityType="EmailAddress" />
<Rule xsi:type="ItemHasKnownEntity" EntityType="Contact" />
<Rule xsi:type="ItemHasKnownEntity" EntityType="Url" />
</Rule>
<DisableEntityHighlighting>false</DisableEntityHighlighting>
<VersionOverrides xmlns="http://schemas.microsoft.com/office/mailappversionoverrides" xsi:type="VersionOverridesV1_0">
<Requirements>
<bt:Sets DefaultMinVersion="1.3">
<bt:Set Name="Mailbox" />
</bt:Sets>
</Requirements>
<Hosts>
<Host xsi:type="MailHost">
<DesktopFormFactor>
<!-- UI가 아닌 단추에서 트리거할 수 있는 함수의 위치입니다(ExecuteFunction 작업). -->
<FunctionFile resid="functionFile" />
<!-- 다른 확장 지점 MessageRead, AppointmentOrganizer, AppointmentAttendee를 추가하는 방법을 알아보려면 http://aka.ms/ExtensionPointsCommands로 이동하세요. -->
<!--메세지 쓰기-->
<ExtensionPoint xsi:type="MessageComposeCommandSurface">
<OfficeTab id="TabDefault">
<!-- 탭당 최대 6개 그룹 추가 -->
<Group id="msgWriteGroup">
<Label resid="groupLabel" />
<!-- 추가 기능 시작: 작업창 단추 -->
<Control xsi:type="Button" id="msgWriteOpenPaneButton">
<Label resid="paneReadButtonLabel" />
<Supertip>
<Title resid="paneReadSuperTipTitle" />
<Description resid="paneReadSuperTipDescription" />
</Supertip>
<Icon>
<bt:Image size="16" resid="icon16" />
<bt:Image size="32" resid="icon32" />
<bt:Image size="80" resid="icon80" />
</Icon>
<Action xsi:type="ShowTaskpane">
<SourceLocation resid="messageReadTaskPaneUrl" />
</Action>
</Control>
<!-- 다른 컨트롤 ExecuteFunction과 메뉴를 추가하는 방법을 알아보려면 http://aka.ms/ButtonCommands로 이동하세요. -->
</Group>
</OfficeTab>
</ExtensionPoint>
<ExtensionPoint xsi:type="AppointmentOrganizerCommandSurface">
<OfficeTab id="TabDefault">
<!-- 탭당 최대 6개 그룹 추가 -->
<Group id="orgReadGroup">
<Label resid="groupLabel" />
<!-- 추가 기능 시작: 작업창 단추 -->
<Control xsi:type="Button" id="orgReadOpenPaneButton">
<Label resid="paneReadButtonLabel" />
<Supertip>
<Title resid="paneReadSuperTipTitle" />
<Description resid="paneReadSuperTipDescription" />
</Supertip>
<Icon>
<bt:Image size="16" resid="icon16" />
<bt:Image size="32" resid="icon32" />
<bt:Image size="80" resid="icon80" />
</Icon>
<Action xsi:type="ShowTaskpane">
<SourceLocation resid="messageReadTaskPaneUrl" />
</Action>
</Control>
<!-- 다른 컨트롤 ExecuteFunction과 메뉴를 추가하는 방법을 알아보려면 http://aka.ms/ButtonCommands로 이동하세요. -->
</Group>
</OfficeTab>
</ExtensionPoint>
<ExtensionPoint xsi:type="AppointmentAttendeeCommandSurface">
<OfficeTab id="TabDefault">
<!-- 탭당 최대 6개 그룹 추가 -->
<Group id="attReadGroup">
<Label resid="groupLabel" />
<!-- 추가 기능 시작: 작업창 단추 -->
<Control xsi:type="Button" id="attReadOpenPaneButton">
<Label resid="paneReadButtonLabel" />
<Supertip>
<Title resid="paneReadSuperTipTitle" />
<Description resid="paneReadSuperTipDescription" />
</Supertip>
<Icon>
<bt:Image size="16" resid="icon16" />
<bt:Image size="32" resid="icon32" />
<bt:Image size="80" resid="icon80" />
</Icon>
<Action xsi:type="ShowTaskpane">
<SourceLocation resid="messageReadTaskPaneUrl" />
</Action>
</Control>
</Group>
</OfficeTab>
</ExtensionPoint>
</DesktopFormFactor>
</Host>
</Hosts>
<Resources>
<bt:Images>
<bt:Image id="icon16" DefaultValue="https://hd-organizationchart-app.azurewebsites.net/assets/images/icon-16.png"/>
<bt:Image id="icon32" DefaultValue="https://hd-organizationchart-app.azurewebsites.net/assets/images/icon-32.png"/>
<bt:Image id="icon80" DefaultValue="https://hd-organizationchart-app.azurewebsites.net/assets/images/icon-80.png"/>
</bt:Images>
<bt:Urls>
<bt:Url id="functionFile" DefaultValue="https://hd-organizationchart-app.azurewebsites.net/"/>
<bt:Url id="messageReadTaskPaneUrl" DefaultValue="https://hd-organizationchart-app.azurewebsites.net/chart-login"/>
<bt:Url id="login" DefaultValue="https://hd-organizationchart-app.azurewebsites.net/login"/>
</bt:Urls>
<bt:ShortStrings>
<bt:String id="groupLabel" DefaultValue="(주)헤드아이티"/>
<bt:String id="customTabLabel" DefaultValue="My Add-in Tab"/>
<bt:String id="paneReadButtonLabel" DefaultValue="스마트워크솔루션"/>
<bt:String id="paneReadSuperTipTitle" DefaultValue="조직도 및 대용량 파일 첨부"/>
</bt:ShortStrings>
<bt:LongStrings>
<bt:String id="paneReadSuperTipDescription" DefaultValue="조직도 기반으로 메일 주소를 쉽게 찾을 수 있으며, 대용량 파일 첨부 기능을 통해 용량이 큰 파일도 아웃룩에서 보낼 수 있습니다."/>
</bt:LongStrings>
</Resources>
</VersionOverrides>
</OfficeApp>
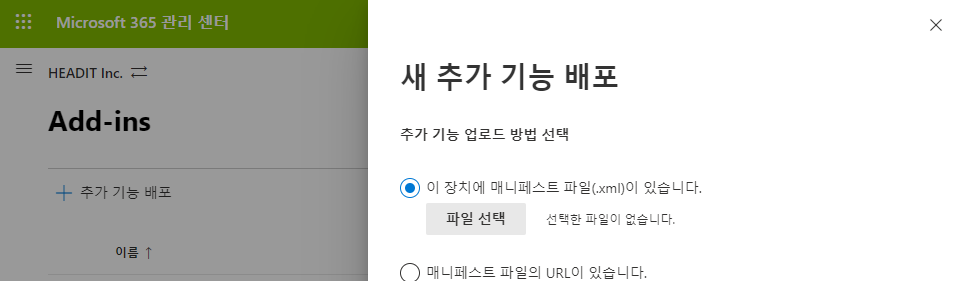
- Portal.office.com 접속

- 추가기능 배포 클릭 Xml 파일 등록 후 업로드
- 아웃룩 배포 테스트
'Cloud > Microsoft 365' 카테고리의 다른 글
| Onedrvie 파일 업로드 API (0) | 2022.04.01 |
|---|---|
| Outlook 조직도 개발 기초 (0) | 2022.04.01 |
| OneDrive API (0) | 2022.04.01 |
| Microsoft Office Add-in with Angular (0) | 2021.06.16 |
| [M365] Office 추가 기능 배포 방법 - Outlook 추가 기능 배포 (0) | 2020.05.26 |

